DATA Pill – the blue pill that (accidentally) works!
Ever felt overwhelmed by the flood of news about the latest technologies, tools, and trends in Data, AI, and ML? A new framework here, a revolutionary…
Read moreAt GetInData, we build elastic MLOps platforms to fit our customer’s needs. One of the key functionalities of the MLOps platform is the ability to track experiments and manage the trained models in the form of a model repository. Our flexible platform allows our customers to pick best of breed technologies to provide those functionalities, whether they are open source or commercial ones. MLFlow is one of the open source tools that goes really well in that position. In this blog post, I will show you how to deploy MLFlow on top of Cloud Run, Cloud SQL and Google Cloud Storage to obtain a fully managed, serverless service for experiment tracking and model repository. The service will be protected using OAuth2.0 authorization and SSO with Google accounts.
The final setup described in this blog post will look like this:
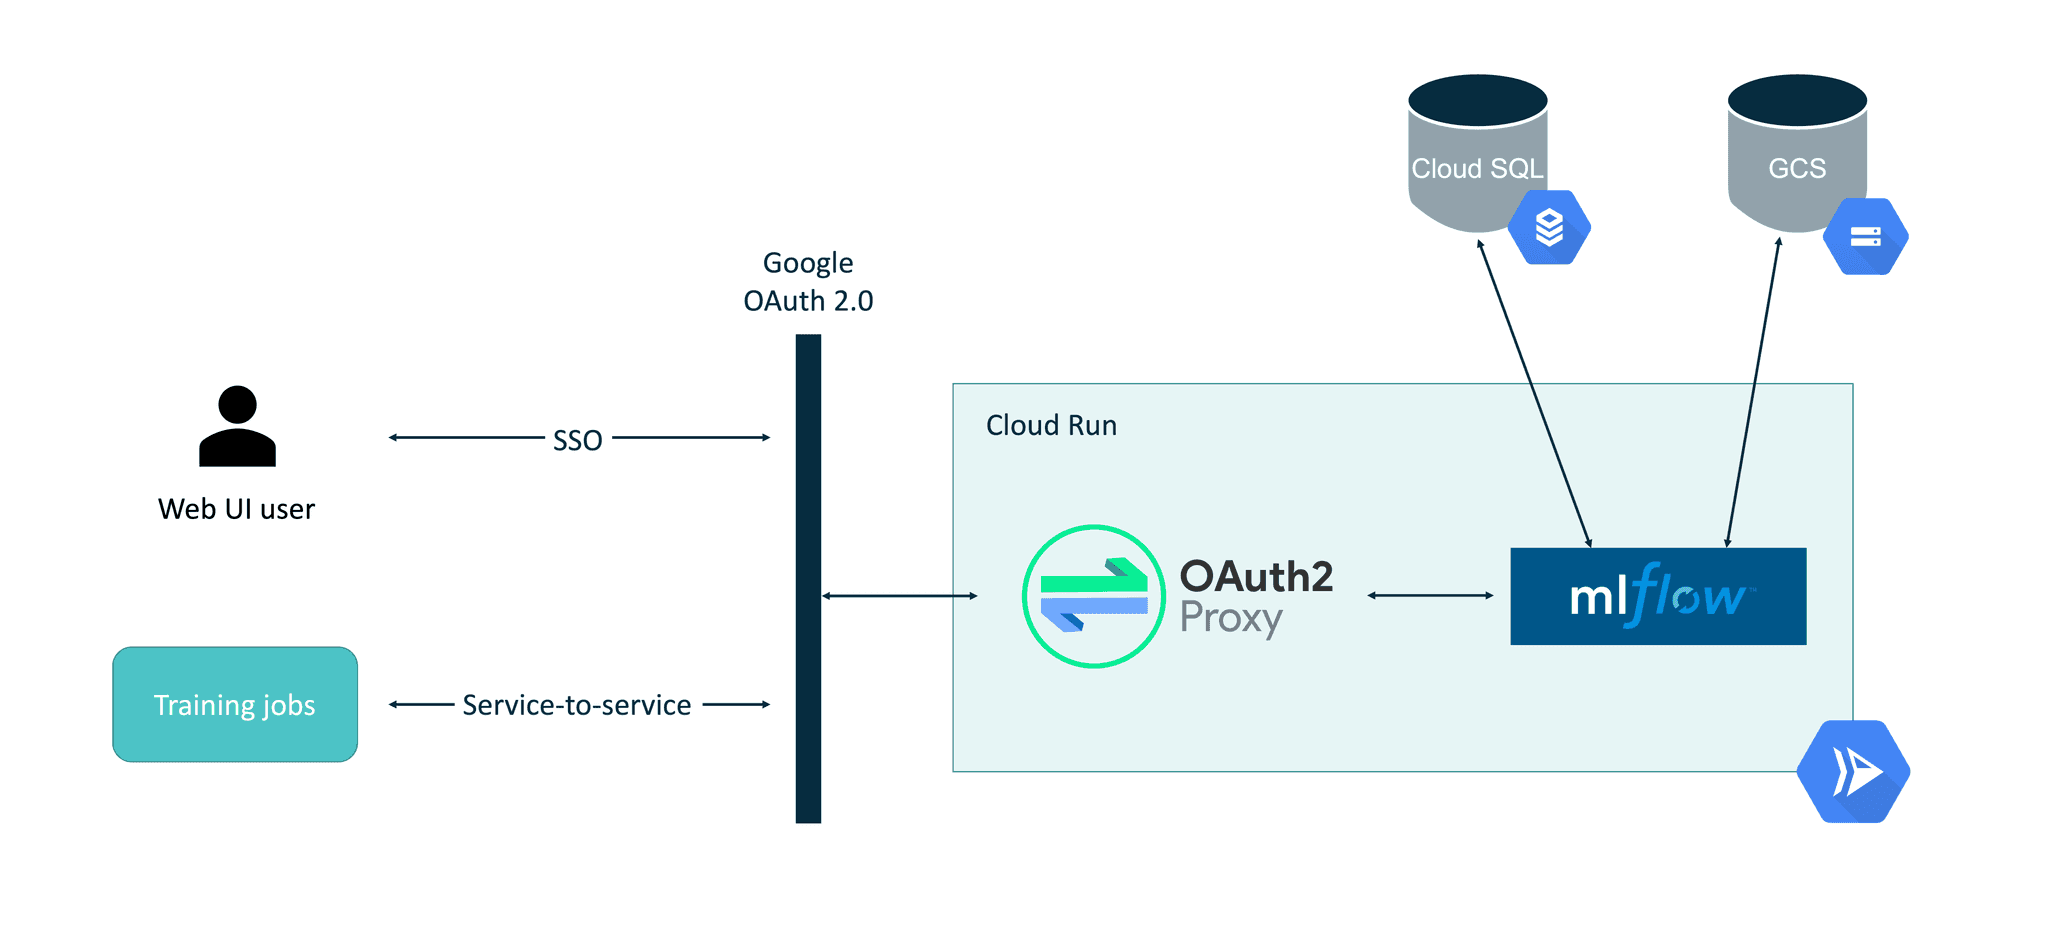
One of the most important aspects here is the use of the OAuth2-Proxy as a middle layer within the Cloud Run container. Using Cloud Run’s built-in authorization mechanism (“Require authentication. Manage authorized users with Cloud IAM.” option) is usable only when programmatic requests are being made. When interactive requests to the web based UI need to be made (like with the MLFlow web UI case), there is no built-in way yet to authenticate in the Cloud Run service.
The service account that will be used to run MLFlow in Cloud Run needs to have the following permissions configured:
In order to integrate OAuth 2.0 authorization with Cloud Run, OAuth2-Proxy will be used as a proxy on top of MLFlow. OAuth2-Proxy can work with many OAuth providers, including GitHub, GitLab, Facebook, Google, Azure and others. Using a Google provider allows the easy integration of both SSO in the interactive MLFlow UI but also makes it easier for service-to-service authorization using bearer tokens. Thanks to this, MLFlow will be securely accessible from its Python SDK, e.g. when the model training job is executed.
The Client ID / Client Secret can be created by visiting https://console.cloud.google.com/apis/credentials/oauthclient and configuring the new client as a Web Application as shown below. During pre-configuration, the Authorized redirect URIs will be left blank. Later it will be filled with the URL of the deployed Cloud Run instance.
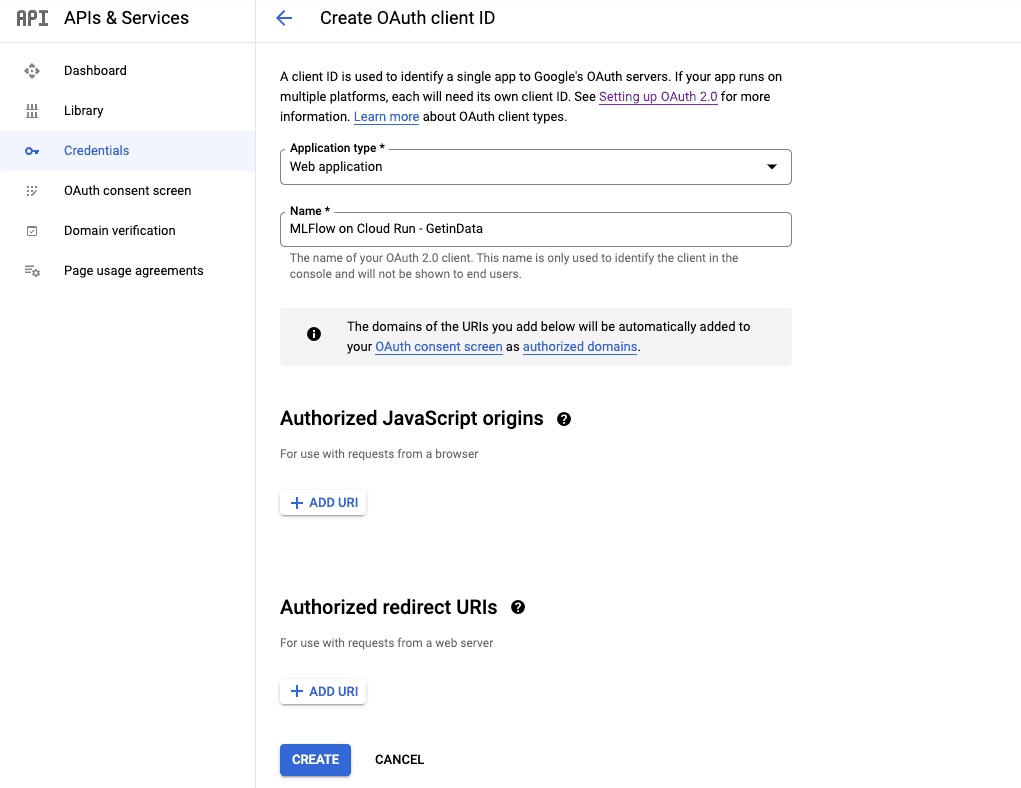
Once created, Client ID and Client Secret will be displayed. They must be stored securely for later configuration.
Both Cloud SQL and Cloud Storage configurations are straightforward and they will be skipped in this blog post. Official GCP documentation about connecting Cloud SQL with Cloud Run covers all aspects of this setup well.
It’s good practice to have a separate GCS bucket for use by MLFlow.
Both MLFlow and OAuth2-Proxy require configuration that contains sensitive data (e.g. OAuth2.0 Client Secret, database connection string). This configuration will be stored in Secret Manager and then mounted in the Cloud Run service via environment variables and files. Two secrets should be created:
email_domains = [
    "<SSO EMAIL DOMAIN>"
]
provider = "google"
client_id = "<CLIENT ID>"
client_secret = "<SECRET>"
skip_jwt_bearer_tokens = true
extra_jwt_issuers = "https://accounts.google.com=32555940559.apps.googleusercontent.com"
cookie_secret = "<COOKIE SECRET IN BASE64>"
Cookie secret can be generated using head -c 32 /dev/urandom | base64.
Extra JWT issuers parameter is required for the service-to-service authorization to work properly.
The Docker image for running MLFlow with OAuth2-Proxy will be based on GetInData’s public MLFlow Docker image from: https://github.com/getindata/mlflow-docker (as MLFlow does not provide one yet). There are two modifications required:
OAuth2-Proxy will be an authorization layer for the MLFlow, which will run in the background process of the container. Tini is used for managing the container’s entrypoint.
Dockerfile
FROM gcr.io/getindata-images-public/mlflow:1.22.0
ENV TINI_VERSION v0.19.0
EXPOSE 4130

RUN apt update && apt install -y curl netcat && mkdir -p /oauth2-proxy && cd /oauth2-proxy && \
    curl -L -o proxy.tar.gz https://github.com/oauth2-proxy/oauth2-proxy/releases/download/v6.1.1/oauth2-proxy-v6.1.1.linux-amd64.tar.gz && \
    tar -xzf proxy.tar.gz && mv oauth2-proxy-*.linux-amd64/oauth2-proxy . && rm proxy.tar.gz && \
    rm -rf /var/lib/apt/lists/*

ADD https://github.com/krallin/tini/releases/download/${TINI_VERSION}/tini /tini
RUN chmod +x /tini

COPY start.sh start.sh
RUN chmod +x start.sh

ENTRYPOINT ["/tini", "--", "./start.sh"]
start.sh
#!/usr/bin/env bash
set -e

mlflow server --host 0.0.0.0 --port 8080 --backend-store-uri ${BACKEND_STORE_URI} --default-artifact-root ${DEFAULT_ARTIFACT_ROOT} &
while ! nc -z localhost 8080 ; do sleep 1 ; done
/oauth2-proxy/oauth2-proxy --upstream=http://localhost:8080 --config=${OAUTH_PROXY_CONFIG} --http-address=0.0.0.0:4180 &

wait -n
Details on this entrypoint can be found in the Step 6 section below. Once the image is built it needs to be pushed to GCR in order for Cloud Run to deploy it.
Once the Docker image is built, it can be deployed in Cloud Run.
Standard parameters should be set as follows:
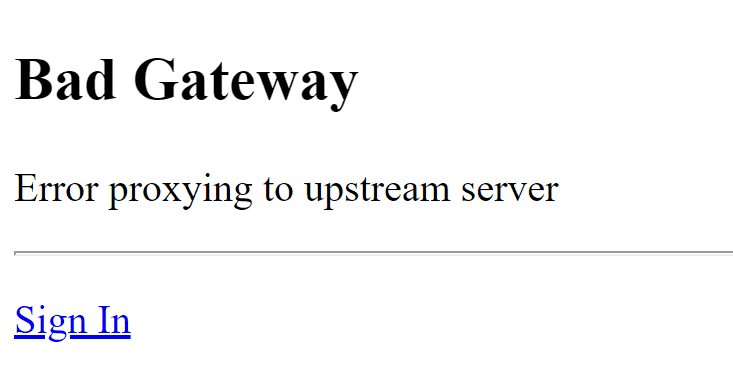
From the code of the entrypoint it’s clear that there are two services running simultaneously within a single container. The front-end service is OAuth2-Proxy and the backend service is the actual MLFlow instance. Because of this configuration, the entrypoint needs to wait before the MLFlow server starts before proceeding to the next step, which is starting the OAuth2-Proxy. Without the wait loop, the service will not start properly and accessing the deployed Cloud Run service will result in Bad Gateway: Error proxying to upstream server:
The reason why this happens is directly related to the configuration of the Cloud Run. Currently, when deploying a Cloud Run service there are two options for CPU allocation and pricing:
The first option, the default one, which is “the most serverless one”, means that the deployed container will only receive CPU time when the request is executing. Because the MLflow is a background process, it will only get CPU time to start the server when the front-end process (which in this case is OAuth2-Proxy) is processing the HTTP request. As the requests to OAuth2-Proxy are short, the CPU will be preempted and the MLFlow server will be unable to start. Forcing the entrypoint for OAuth2-Proxy to wait before the MLFlow server starts prevents the race condition when the MLFlow server might start or not, depending on how many CPU cycles the container received during initialization.
The second option is more expensive as the CPU allocated for the container is always available. This option is a good fit for services that perform backend processing (e.g. consume Pub/Sub messages). While being more expensive, permanent allocation of the CPU would prevent the MLFlow server from being throttled and it’s process will be able to initialize correctly without the HTTP requests being made to the container (excluding the first one when scaling to 0). It’s more reliable to initialize all the processes within the container first before reporting ready status to the executor service (here: Cloud Run) though.
The secrets created in the Step 4 need to be mounted in the Cloud Run service. The configuration is shown below:
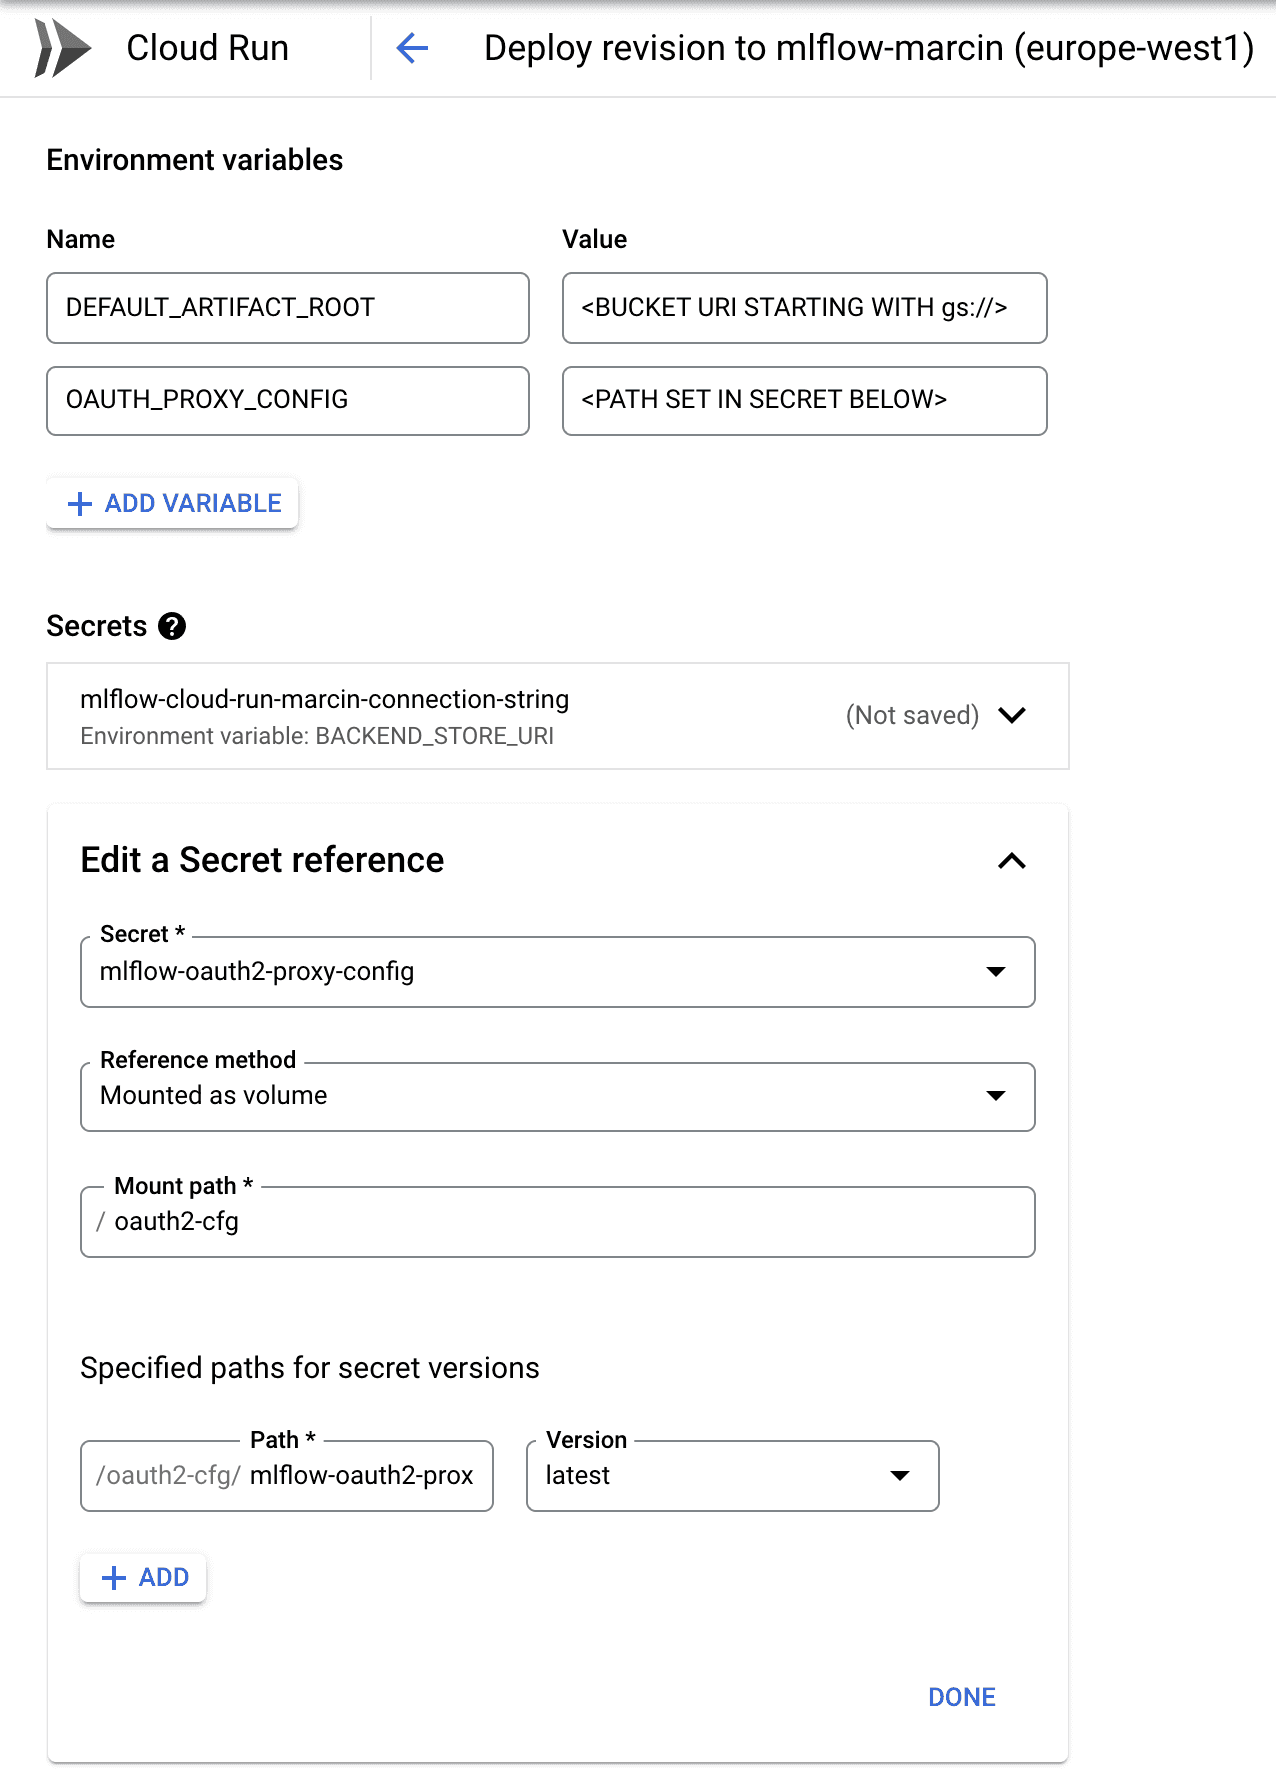
The connection string to the database (first secret) should be mounted as BACKEND_STORE_URI environment variable - it will be consumed by the MLFlow Server. The configuration for the OAuth2-Proxy should be mounted as volume and the path specified here should be passed in the OAUTH_PROXY_CONFIG environment variable (reference the setup.sh above to understand the passing of these parameters).
In Step 2, the OAuth 2.0 client was pre-configured but the Authorized redirect URIs were left blank. Once the Cloud Run service is deployed, it’s URL will be available in the UI:

This URL needs to be specified in the OAuth 2.0 client configuration as follows:
https://mlflow-
so that the redirections will work properly.
Once deployed, MLFlow service can be accessed either from the browser or from a backend service.
The deployed Cloud Run service will trigger OAuth 2.0 flow in order to authorize the user.
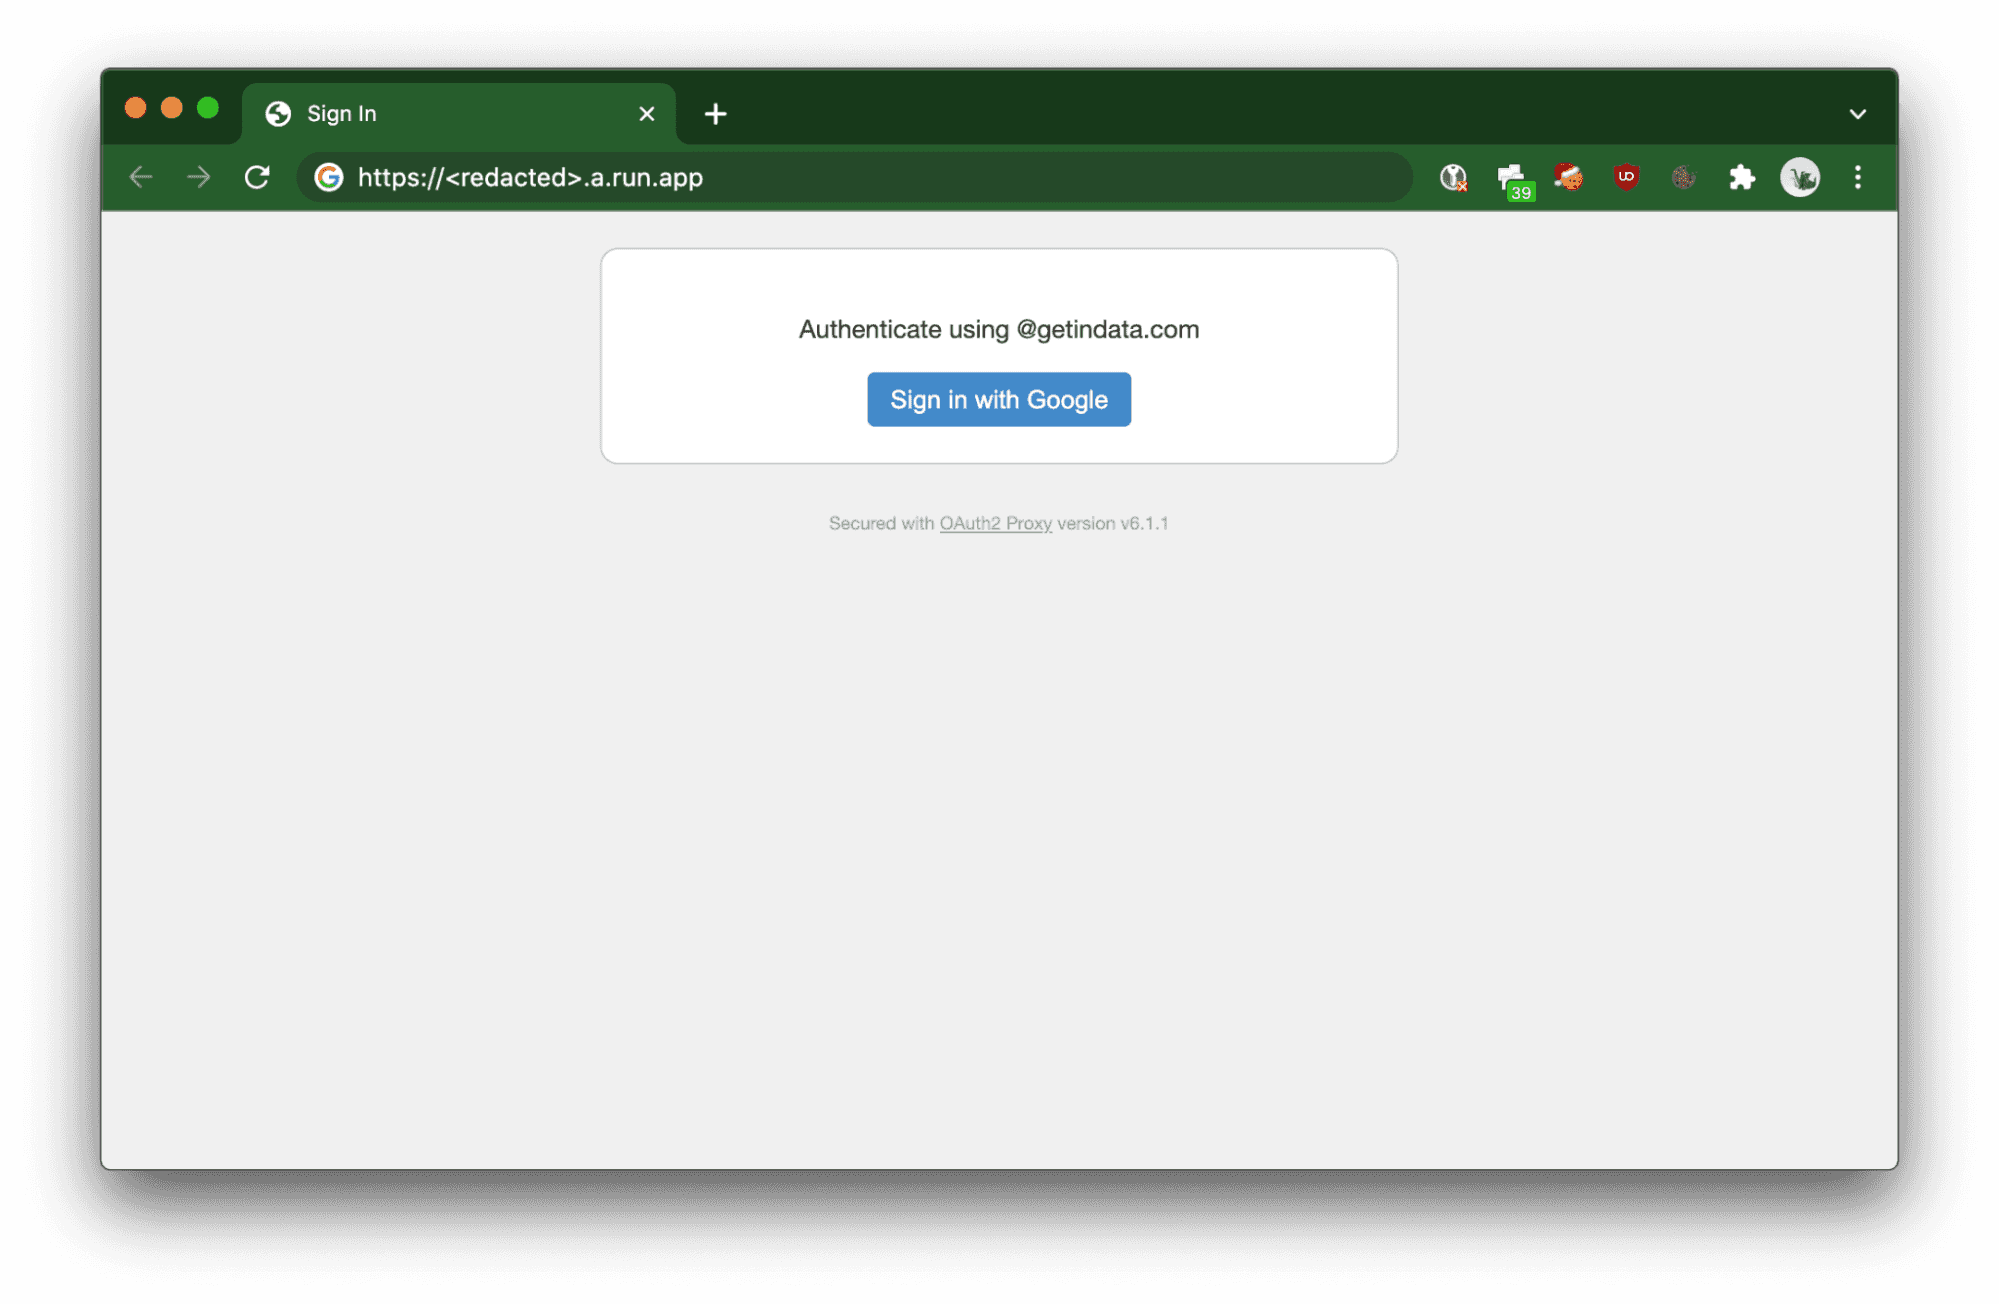
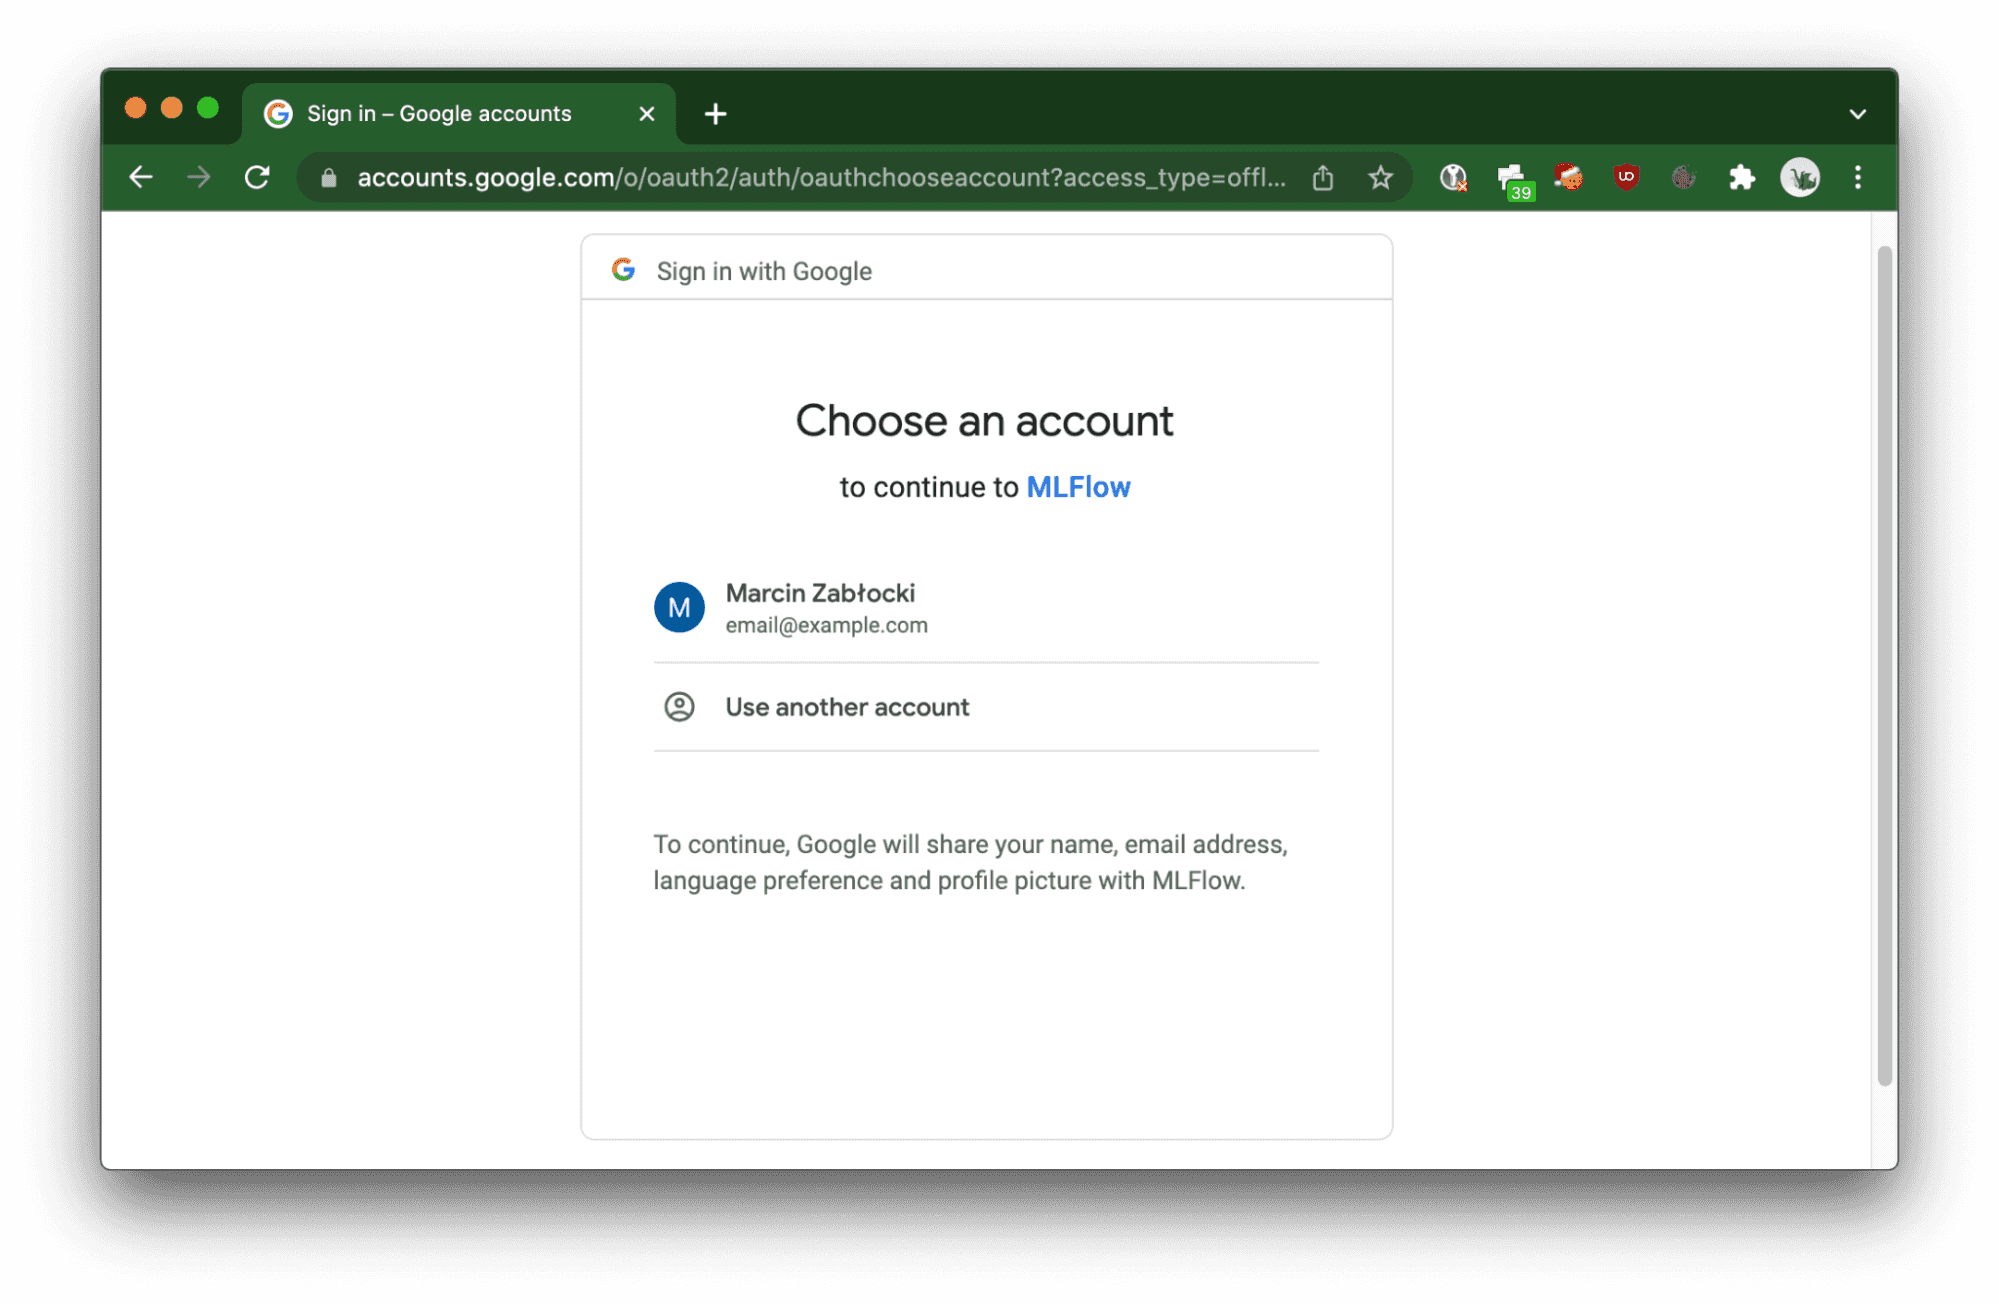
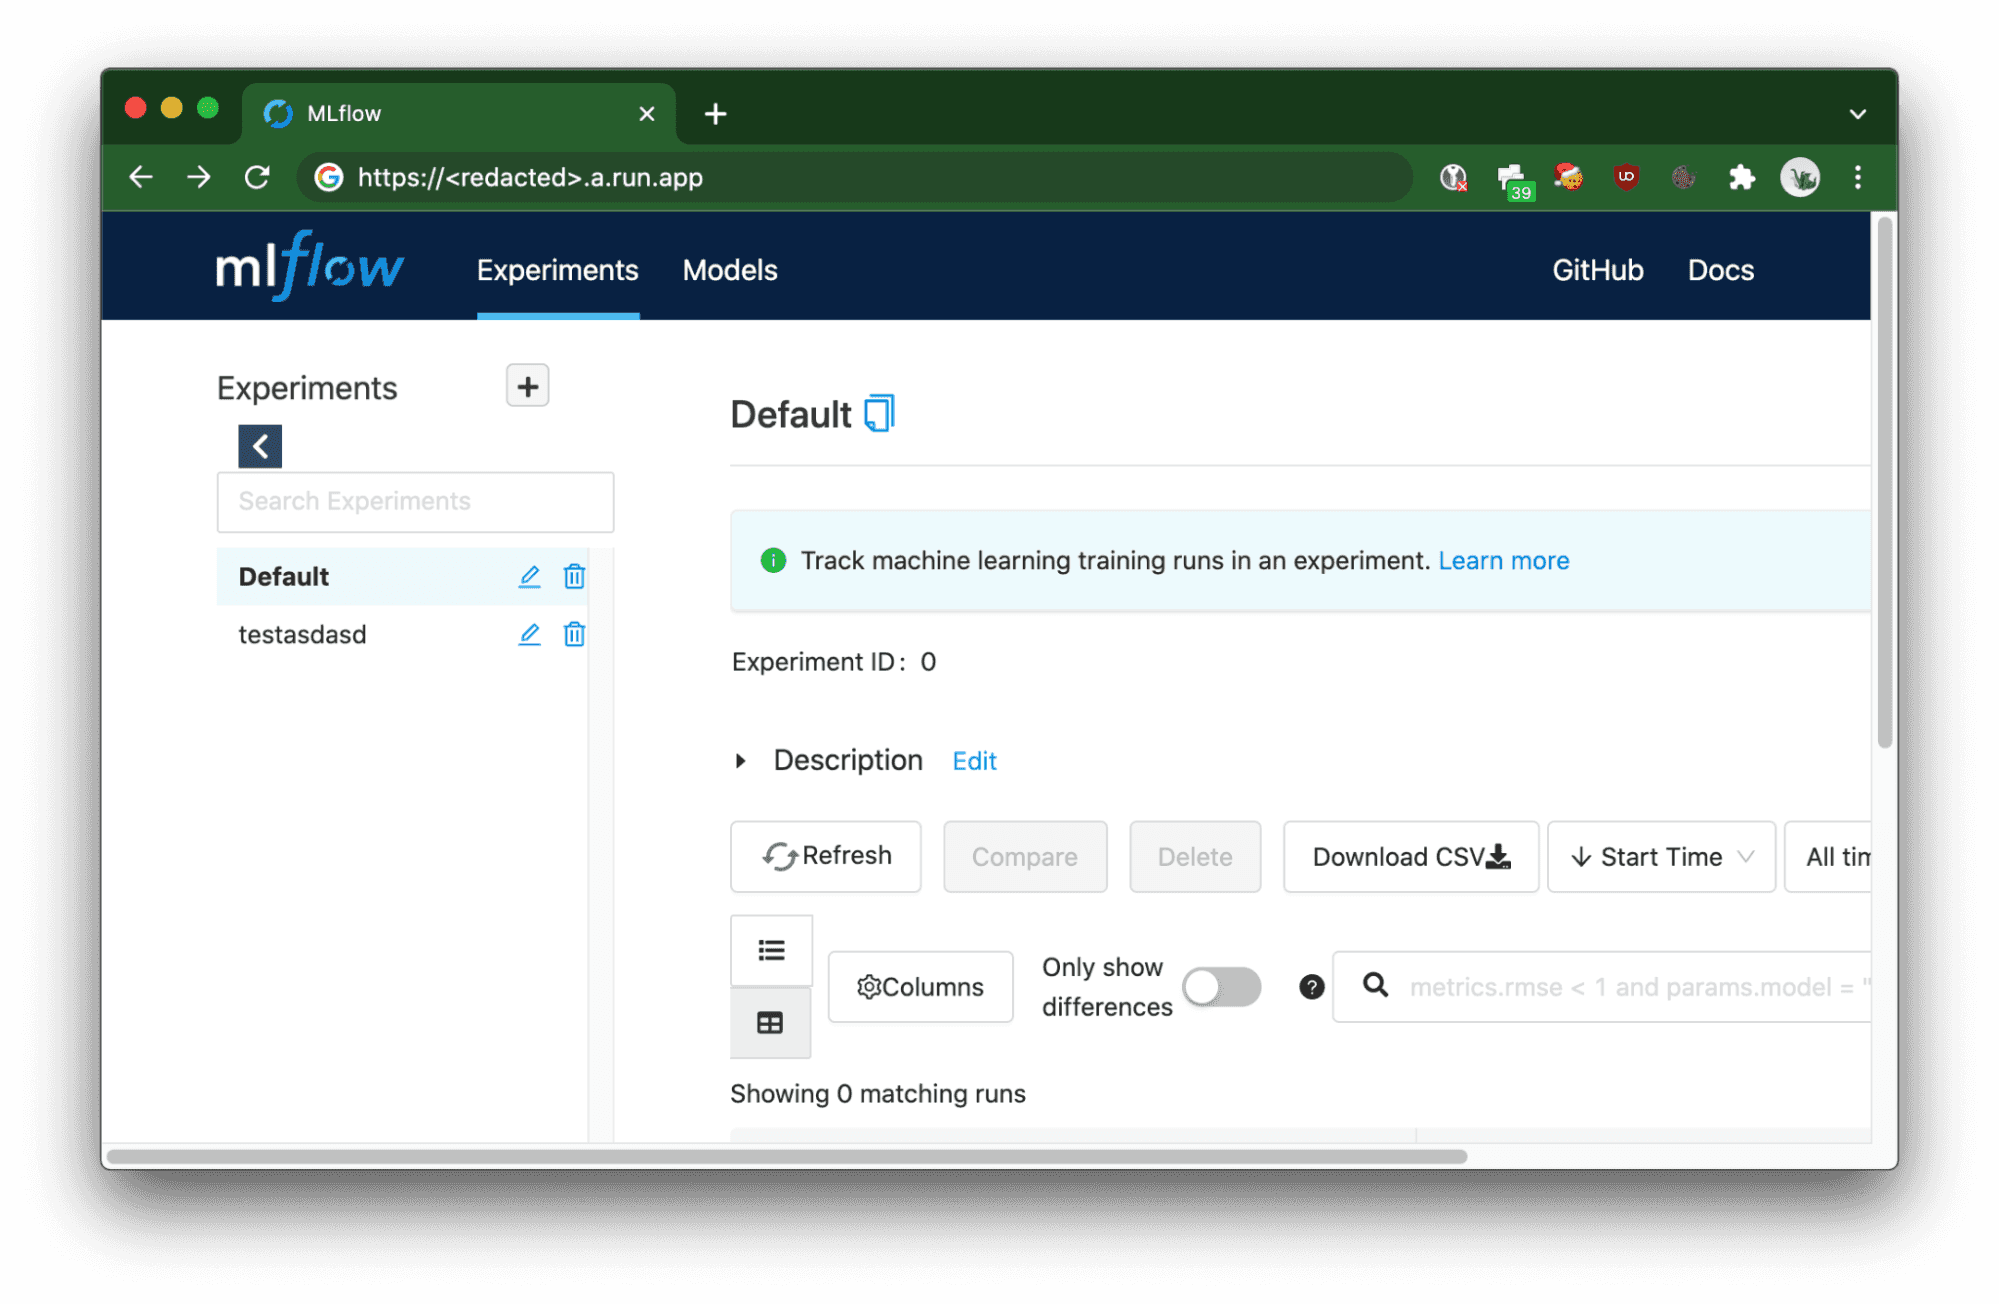
When using CI/CD jobs, curl or Python SDK for MLFlow, requests need to be authorized by passing the Authorization HTTP header with a Bearer token provided by the OAuth 2.0 token provider, which in this case is Google (note that not all providers supported by the OAuth2-Proxy allow you to obtain a server-to-server token).
In order to get the token, the
curl -X GET https://<redacted>.a.run.app/api/2.0/mlflow/experiments/list -H "Authorization: Bearer $(gcloud auth print-identity-token)"
{
  "experiments": [
    {
      "experiment_id": "0",
      "name": "Default",
      "artifact_location": "gs://<redacted>/0",
      "lifecycle_stage": "active"
    },
    {
      "experiment_id": "1",
      "name": "testasdasd",
      "artifact_location": "gs://<redacted>/1",
      "lifecycle_stage": "active"
    }
  ]
}
Authorizing Python SDK only requires passing the generated token to the MLFLOW_TRACKING_TOKENenvironment variable, no source code changes are required (example taken from MLFlow docs):
MLFLOW_TRACKING_TOKEN=$(gcloud auth print-identitytoken)MLFLOW_TRACKING_URI=https://<redacted>.a.run.app python sklearn_elasticnet_wine/train.py
I hope this guide helped you to quickly deploy scalable MLFlow instances on Google Cloud Platform. Happy (serverless) experiment tracking!
Special thanks to Mateusz Pytel and Mariusz Wojakowski for helping me with the research on this deployment.
Interested in ML and MLOps solutions? How to improve ML processes and scale project deliverability? Watch our MLOps demo and sign up for a free consultation.
Ever felt overwhelmed by the flood of news about the latest technologies, tools, and trends in Data, AI, and ML? A new framework here, a revolutionary…
Read moreIf you’re in the data world, you already know dbt (data build tool) is the real deal for transforming raw data into something actionable. It’s the go…
Read moreLet’s take a moment to look back at 2024 and celebrate everything we’ve achieved. This year has been all about sharing knowledge, creating impactful…
Read moreApache NiFi, big data processing engine with graphical WebUI, was created to give non-programmers the ability to swiftly and codelessly create data…
Read moreIntroduction Many teams may face the question, "Should we use Flink or Kafka Streams when starting a new project with real-time streaming requirements…
Read moreMy goal is to create a comprehensive review of available options when dealing with Complex Event Processing using Apache Flink. We will be building a…
Read moreTogether, we will select the best Big Data solutions for your organization and build a project that will have a real impact on your organization.
What did you find most impressive about GetInData?